 Since I did French bread last week, I have been wondering what the difference is between Italian bread and French bread, and so here I am at bread number 15 in the book : Breadbaker's Apprentice. Although we usually consider Italian bread to be softer than french bread, Peter Reinhart gives the difference between the two as being very little; since Italians seem to use an old dough(biga) method very closely resembling the pate fermentee used by the French. In his recipe found here, Reinhart has also recommended the use of diastatic barley malt, only I couldn't find any locally, so I went with using the barley malt syrup. I have to say, however, that that little flavor difference made all the difference in the world to our tastebuds. Nic, being Italian, said that this bread was WAY better than the so called Italian breads found here in the US supermarkets. I'll be sending this also over to yeastspotting. 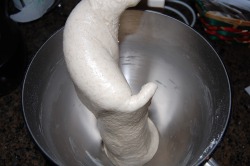 The dough was mixed up with the biga and the wild yeast(Adam) until it formed a smooth dough. 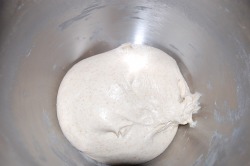 Here is the dough ready for the first bulk ferment. 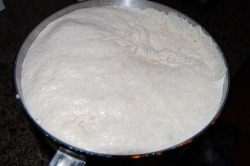 Wow! It actually rose and almost bubbled out of the bowl. I think the temp was a little too warm! 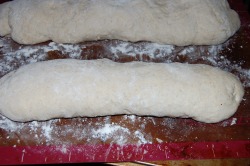 So, Here are the formed loaves ready to be proofed again and baked in the oven. 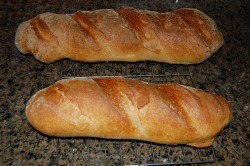 The loaves came out deliciously brown and oh so crusty. The addition of the barley malt syrup was definitely key. We ate the loaves so fast, that I forgot to take a crumb shot.
3 Comments
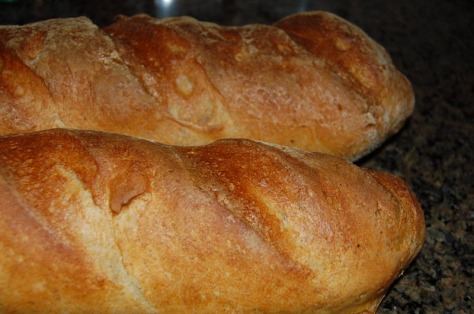
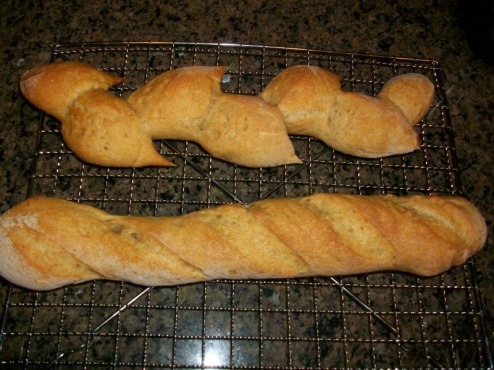 Baking french style bread according to Peter Reinhart's recipe is all about preferments. In fact, In his Bread Baker's Apprentice book, He describes the bread as being a lean dough that is about 70% old dough. It's quite amazing how passionate the French are about their bread, but when you taste a home-made loaf, I think you could understand the passion. I adored this bread and want to share it with yeastpotting. 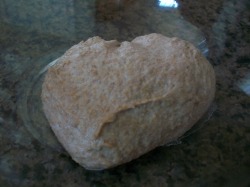 Here is the preferment after being taken out of the fridge. 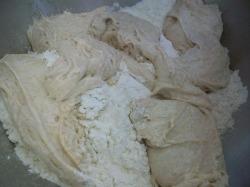 Mixed in the pate fermentee with the flour, salt, water and more wild yeast starter. 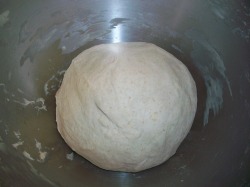 The sticky dough left to rest and rise. Since I use wild yeast, the rising took a little longer than usual.  After about 3 hours, the dough was separated and then made into the banneton and the epi as seen here. 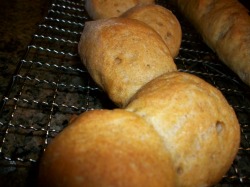 The finished epi out of the oven. The crust was a beautiful golden color, and the taste was divine. I will be making this one again for sure!
 I have yet to come across a person who hates focaccia. Although this simple pizza-like bread comes to us from the region of Liguria, Italy, we have adopted this delicious treat to fit our own American lifestyles. Traditionally, focaccia is topped with savory items such as cheese, herbs, and such, but Peter Reinhart has also included a sweeter version in his book for those of us who can't seem to get enough already. I couldn't decide whether to do a sweet or a savory one, so I chose to make one of each. As you know if you have been keeping up, we are strongly advised against printing the recipe but If you are following along in the Book, you can find the recipe on pp159-167. You can also see what others are doing with this challenge. 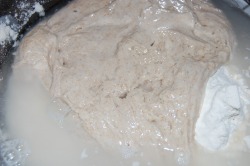 raw ingredients Mixed together: Flour, water, yeast(Adam),lots of olive oil, and salt. 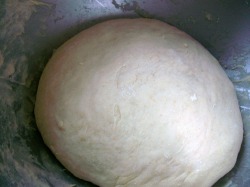 ball of dough It formed a somewhat sticky ball to rest for 30 minutes before I separated into two rectangles. 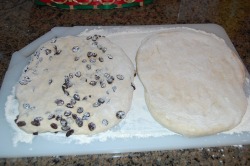 waiting for the intial rise I took half of the dough and incorporated 1 cup of raisins, and I then followed Peter's instructions for folding the dough every hour for about 3 hours, being careful not to degass the dough too much after each rise. 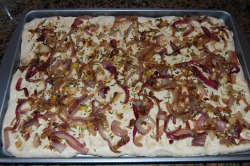 carmelized onions, rosemary and the extra oil The savory dough was then topped with some carmelized onions, rosemary, and the extra 1/4 cup of olive oil then put into pans and into plastic bags to retard overnight in the refrigerator. 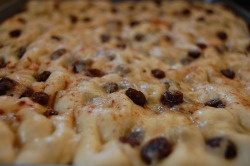 raisin focaccia after the refrigerator The next day, the risen dough was left out to come to room temp and double in bulk(this took about 3 hours). 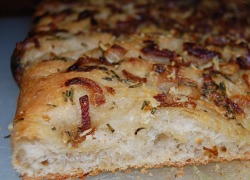 savory focaccia ready to eat The focaccia was then baked in a preheated 500 degree oven and then turned down to 450 degrees for 20 minutes.
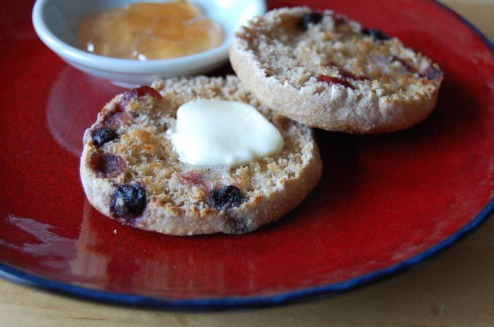 English Muffins were originally eaten by the servants in Victorian England where the family baker would make them from leftover mashed potato, bread and biscuit dough scraps. He would fry the batter on a hot griddle and the light and airy muffins would be given to the servants. Somehow, the aristocratic family managed to taste these muffin wonders, and would then request them for their afternoon tea. This is not your ordinary English muffin. No, this is a much more luxurious(if you can apply that word to a muffin) rendition of a old standard. The holes were nicely kept while the structure of the crumb was deliciously crisp and chewy but soft. It was enhanced by our own addition of the dried fruit, and thank goodness the recipe only made a few, because we ate these up in a hurry! As a participant in the breadbaker's challenge, I cannot reprint the recipe, but if you have the book already, you can follow along on pp157-158. 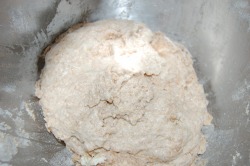 Mixed together the flour, yeast, salt, milk, water, sugar, and butter 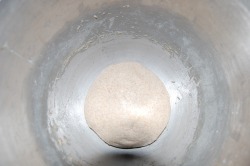 The dough was kneaded until silky and then allowed to rise until doubled. 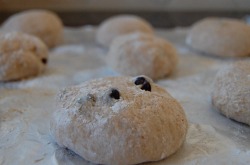 After the initial rise, the dough was portioned out into 6 balls and I took the liberty of adding some dried fruit, and it was then allowed to rise again until almost doubled. 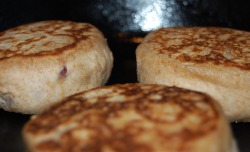 The doubled buns were then placed on a hot griddle to brown on both sides. The browned muffins finished baking in a 350 degree oven for another 8 minutes or so. 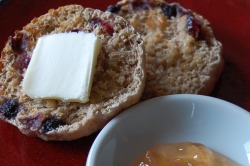 Can't you just taste it? Think it should be yeastpotted!
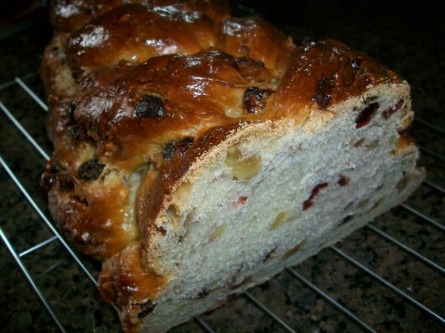 I know this bread actually looks familiar. But, I am not sure if it's just that I LOVE cranberries and walnuts or if it's just that I am becoming a fan of fruit and nut egg breads- but I found this bread to be quite intoxicating. The crumb had the texture of challah, but with a sweet, tart, and nutty flavor and texture. I've read from others who have made this bread that they thought there were too many cranberries-- how ridiculous! In fact, I think adding more cranberries and walnuts next time would actually make this bread better. 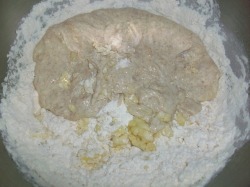 The now familiar ingredients of eggs, flour, salt, yeast, milk, orange extract and butter. 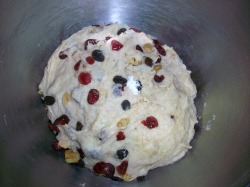 Added the cranberries and walnuts after the mixture comes together into a ball. The dough was then allowed to rise until almost doubled in size. 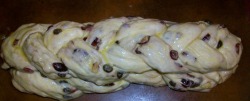 Braided the loaf and then glazed with egg wash. 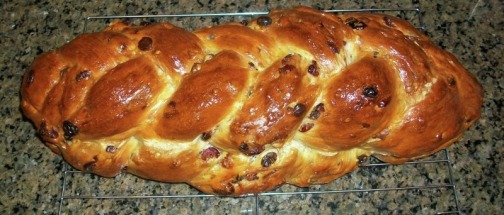 Baked in 325 degree oven for 45 minutes. This looks good enough to be sent to yeastpotting! 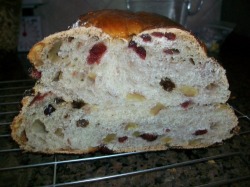 The crumb was beautifully dotted with cranberries and walnuts. And what wonderful flavor from the tang of the cranberries to the zing of the orange extract. This is our kind of breakfast bread toasted with butter or cream cheese.
| About Me
I am an amateur home maker who finds great pleasure in creating baked wonders in the kitchen. Favorite links
doughadear ArchivesMarch 2011 CategoriesAll |
 RSS Feed