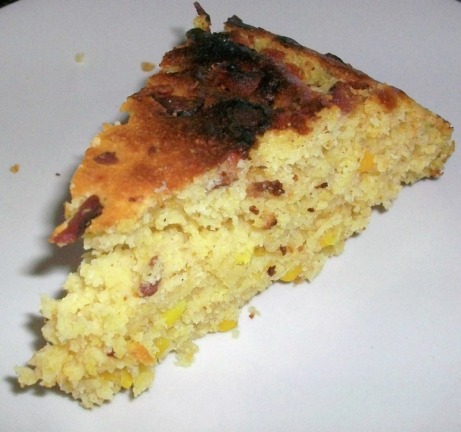
 This recipe being in the book The Bread Baker's Apprentice actually confused me. I guess Peter was so passionate about this recipe he had to include it along with the other yeasted breads. Anyway, I am not a huge cornbread fan, but Nic was quite enamoured with the end result. Fortunately, we were also able to share with my sister and her family as well. 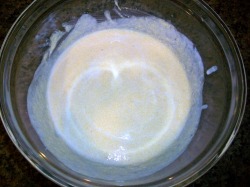 soaking meal Sounds crazy, I know, but this was a two day event. The corn meal was soaked the night before 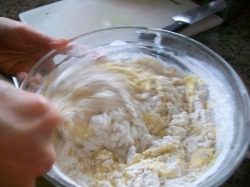 The next morning, I mixed together the soaked cornmeal, salt, flour, sugars, milk, and baking soda. 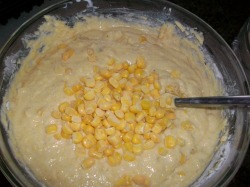 Then the frozen corn kernels were tossed in 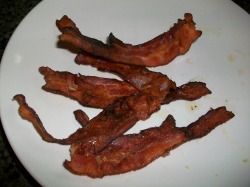 The bacon was fried and put aside to cool. Then the slices were broken into pieces. 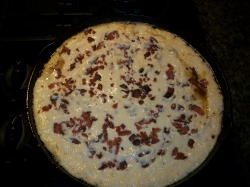 The batter was poured into the pan and topped with the bacon before being put into the oven 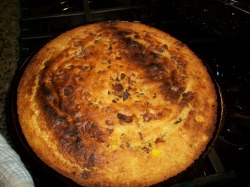 Taadaaaa! The warm and crusty cornbread. Think sweet, savoury, and bread.
0 Comments
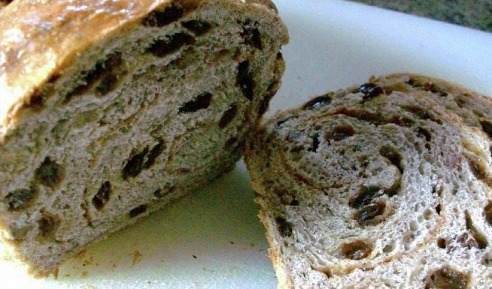 If there is anyone out there who doesn't like cinnamon and raisin bread, then maybe you haven't tried to bake your own. This recipe is fantastic, and the aroma as the loaves are in the oven is incredible! Although Peter Reinhart uses only bread flour in his recipe, I have used white whole wheat in place of half the flour called for. This is even better the next day toasted with a little butter. 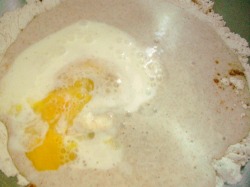 Ingredients Mixture of egg, flour, Adam, cinnamon, sugar, salt, and buttermilk 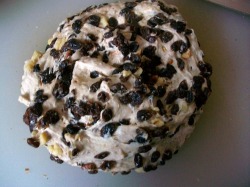 mixed ball of dough After kneading for about 10 minutes, the raisins were added and then the walnuts 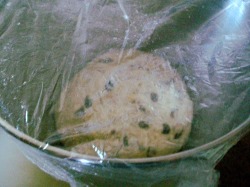 dough left to rise The initial bulk rise took about 2 hours to get 1.5 times bigger. I read somewhere that cinnamon actually retards the rise of yeast. Maybe this was the reason.  waiting to be rolled inro a loaf After the bulk rising, the dough was degassed by rolling into a rectangle sized to fit my loaf pan. I then sprinkled on remaining cinnamon sugar and rolled into loaf. 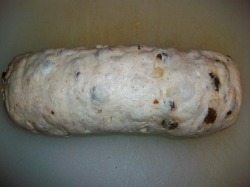 raw loaf Rolled dough waiting to be put into loaf pan and then waiting again for the second and final rise. This time it took another 2 hours to begin to crest the pan. 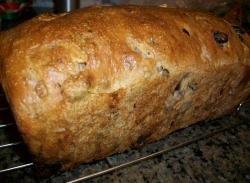 beautiful risen bread Finally, the finished bread, and so worth the wait! 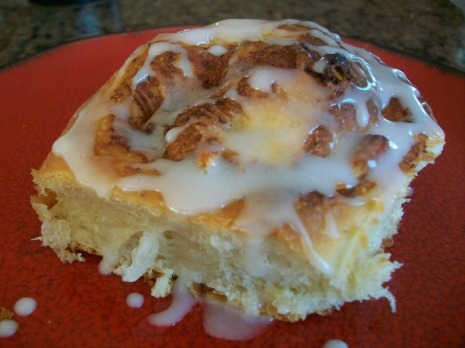 Can I say DELISH? I have never made cinnamon buns before and now I am wondering what took me so long. This recipe was actually a lot lighter than I imagined, and I doubled the cinnamon to really bring out the spice. I also took the liberty of adding toasted almonds and chopped dates. Phenomenal! Yeastspotting, here I come! 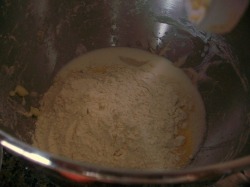 dumped the ingredients into bowl Combine the sugar, butter, egg, salt, bread flour, lemon extract, and Adam  paddle action Mix with paddle attachment until dough forms 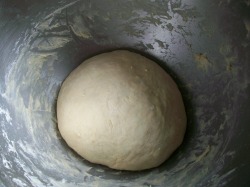 Ball of resting dough Let the dough proof until doubled in size 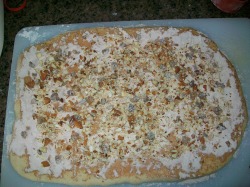 rolled out and ready to roll Roll out after bulk rise and sprinkle cinnamon sugar, almonds, and chopped dates. 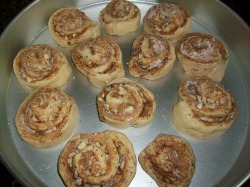 waiting to proof cut rolled dough into 12 pieces and let proof again in a pan with enough space to grow. 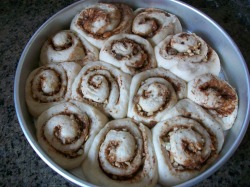 proofed and ready for the oven After about 90 mins they should look like this. 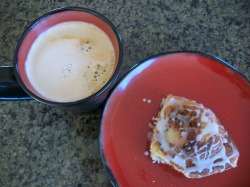 MMMMMMMmmmmmm This was breakfast to remember!
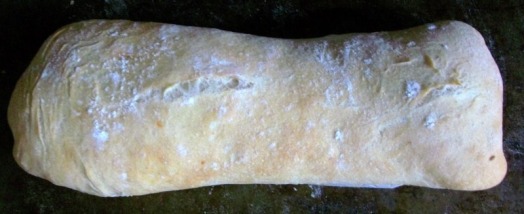 Nick's fav so far. This bread was sensational. The crust was not too crusty but the crumb was light, and chewy with a hint of honey aroma. The problem here was trying to stop eating more than a few slices. Nic and I in fact ate a whole loaf in one night. Here's another one for Yeastspotting  Adam before forming into dough This was actually a very wet and sticky dough. Much more than any of the other breads that I've made so far. After Adam was fully hydrated, the dough was pretty goopy and wet. 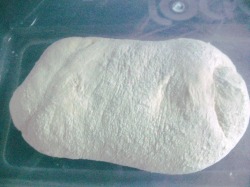 after first strech and fold The directions said to stretch and fold the dough, so I did. It was then allowed to rest for about 2 hours to proof. 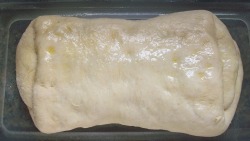 second strec The same stretch and fold technique was used for a second time, and again the dough was allowed to rest. This time, I sprayed a little oil on top. 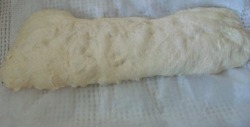 formed ciabatta loaves The loaves were shaped and put on a piece of parchment to get final rising. Since it was so sticky, the shape looked a little crazy. 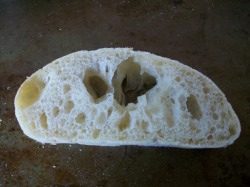 crumb shot The crumb could have been a little better, but it tasted wonderful!
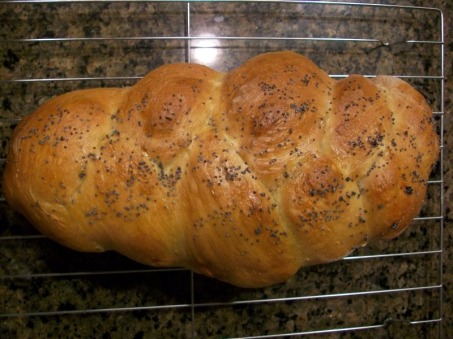 This was so far my favorite recipe from the book. The crumb was so light and chewy and a whole loaf disappeared in one night! The slightly sweet taste along with the melt-in-mouth chewiness was profound. I will be making this one again! This is another for yeastspotting. 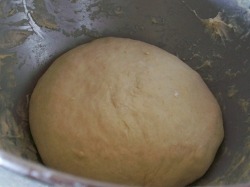 after mixing the ingredients The dough was fairly easy to assemble into a ball. 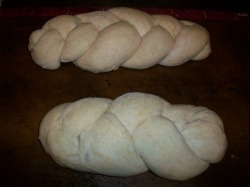 Braided loaves proofing After a 2 hour bulk rise, I divided the dough and made two braided loaves. 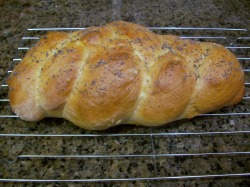 done bread The beautiful golden color came from the egg white wash that was applied before baking. Then a sprinkle of poppyseeds was all that was needed before baking. 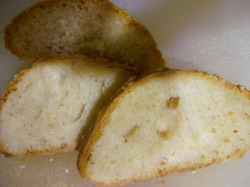 crumb shot The delicious interior. This was fabulous right out of the oven. the recipe said to wait an hour before cutting, but who could do that?
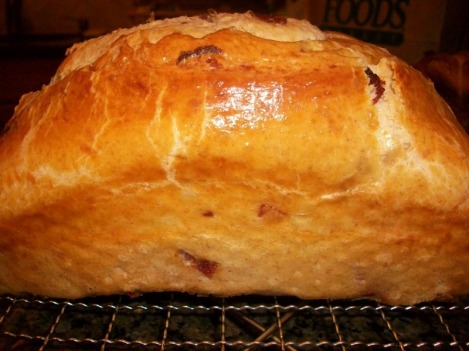 Italian Easter Bread Casatiello is a traditional savoury Easter bread from the region of Campania, Italy. It’s loaded with lots of cheese and pieces of meat, usually salami, and traditionally made with lard. Although traditionally it is made in a ring with hard boiled eggs on top, I decided to bake in a loaf pan and forgo the boiled eggs. 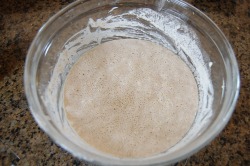 Adam again Here is the starter once again bubbling away... I will not be posting any photos of Adam getting his groove on from now on out. For those of you you who are following these blogs, know he is alive and well in all the recipes. 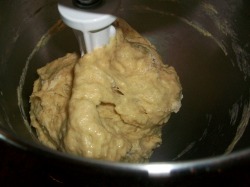 Mixing all together Added eggs, flour, butter(yes, this one also has LOTS of butter), wild yeast, and milk 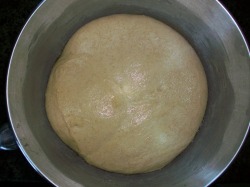 resting dough Formed a dough and let it rest  added cheese and meat So, the traditional version includes salami, and so this has hot genoa salami added. For the cheese, there is a mixture of Asiago, gouda, and raw milk cheddar cheese. 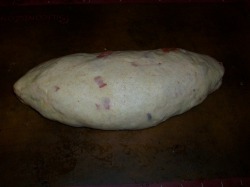 dough being formed into loaf After the dough was allowed to rise-- it was formed into loaves, and then baked in a 350 degree oven for 40 minutes 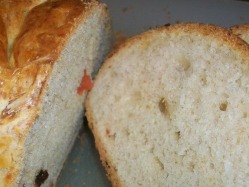 soft crumb and crust Deliciously cheesy and savory. Understand that this is a really heavy dough and not to be eaten often.
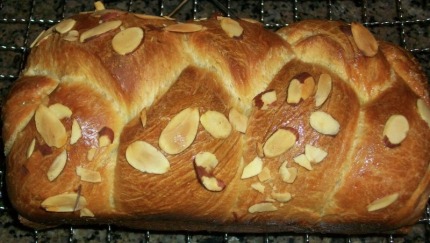 I did the Poor man's version here, and I have to say, it was quite good. We've been to Paris and had wonderful authentic french style brioche there, but this one was lighter but still felt buttery and tender. I will post this one also on YeastSpotting. 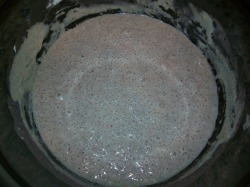 Adam Mixed with the sponge of flour and milk The recipe called for a overnight sponge with yeast and flour and milk. Of course I substituted my wild yeast for the commercial.  Very sticky dough Mixed the flour, sponge, salt, sugar and butter until smooth dough was formed. 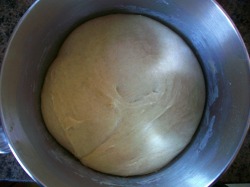 Bulk rising Here is the finished dough ready for the initial bulk rising. Because of this being a wild yeast, I left the dough alone for about 4 hours. 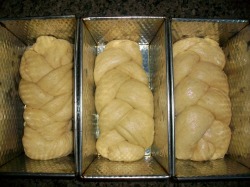 shaped into loaves The risen dough was then deflated and formed into 3 loaves, which I chose to braid. When the 2nd rising was finished I then used an egg wash on top and then sprinkled some sliced almonds to give a little crunch. 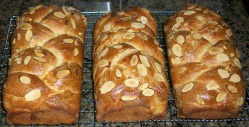 These smelled wonderful coming out of the oven, and the taste of butter and the richness of this crumb made me glad that I chose to bake the poor man's version of this bread. I can't imagine how buttery the other versions would be.
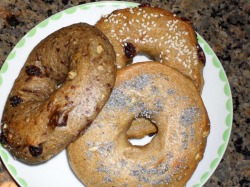 We LOVE bagels. In fact, in the earliest part of our relationship, Nic and I probably ate bagels at least every other day, for a month. Since we have been trying to "watch" our diets, we have scaled back on the bagel eating, but, these bagels make us a little weak in the knees. 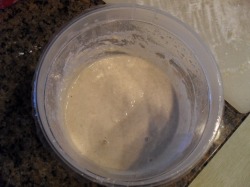 Adam mixed with flour and water In this recipe, Reinhart has incorporated a soaker as well as a biga, but i am using Adam in place of the biga. The preferment is alowed to sit at room temp for 12-24 hours. 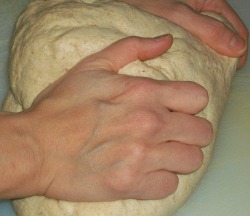 working fingers to the bone This recipe calls for 8 cups of flour total! Wow! The dough was really stiff and hard to knead, but I looked at it as my workout for the day. 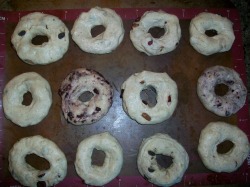 bagels shaped and resting Once the dough bulk rises, it is separated into pieces. Reinhart says he gets 12 bagels out of this recipe,,, I got 16. The pieces are then transferred to a tray to rise again for about 20 mins and then molded into doughnut shapes. The dough is allowed to rise again for 20mins and then wrapped in plastic and refrigerated overnight. 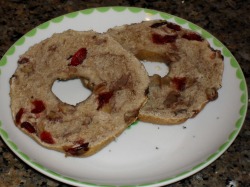 delicious The next day, the bagels are boiled and then baked for 10 minutes.
| About Me
I am an amateur home maker who finds great pleasure in creating baked wonders in the kitchen. Favorite links
doughadear ArchivesMarch 2011 CategoriesAll |
 RSS Feed