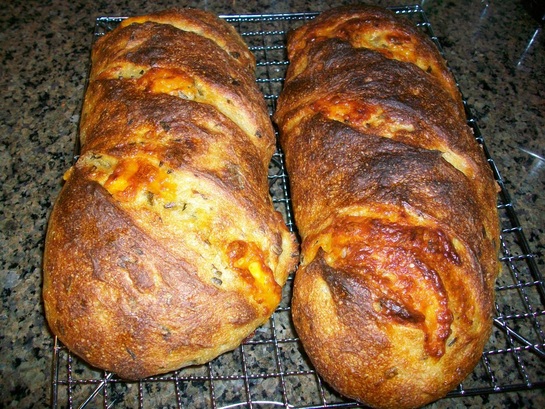
 Cheese and Bread... what could be better? Well, I'll tell you: cheese baked right into the loaves! Here is a bread to blog about. Here is a bread that will make you want to bake often and with the window open to make the neighbors insane with longing. I really had not done the whole cheese in the bread thing before, so this was certainly a new and exciting endeavor on my part. As you know, I am participating in the Bread Baker's Challenge and I can definitely see the end now. This is the next to last recipe in the book: The Breadbaker's Apprentice, by Peter Reinhart and an absolute keeper! The recipe uses both wild yeast and and a bit of commercial yeast, but I chose to only use the wild yeast soley to keep the integrity of my own rule of using my own sourdough starter as the only leavening agent. If you have the book, you can follow along with me on page 278, or if you still don't, you can try this link here. 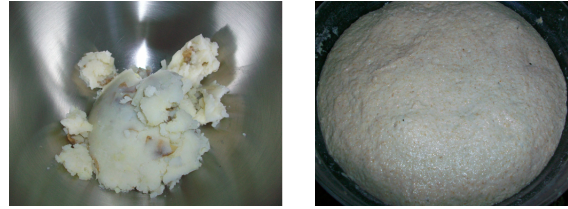 Since this recipe uses mashed potato, I chose to use red potato because I like the taste of these potatoes best. Meanwhile, my wild yeast "Adam" if getting puffy and bubbly. Ripe for the process to begin. 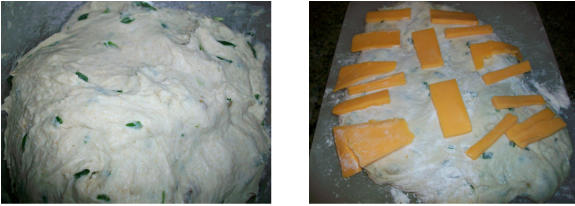 The ingredients all went in along with the chives until the dough "windowpaned" and then was allowed to rise to double in size (this took my dough about 5 hours to get there). After the bulk rising, the dough was divided into two and slightly pressed out into a rectangle where the cheddar cheese slices were applied. They were then rolled into batards where the cheese was nicely tucked inside. The second rise only took about 3 hours and then I placed them into the hot 500* oven along with a cup of hot water and steam baking. The finished loaves were supposed to be cooled before eating, but we are not very patient people sometimes. This bread is chewy and onion flavored and the oozing cheese was amazing! Yeaspotted! 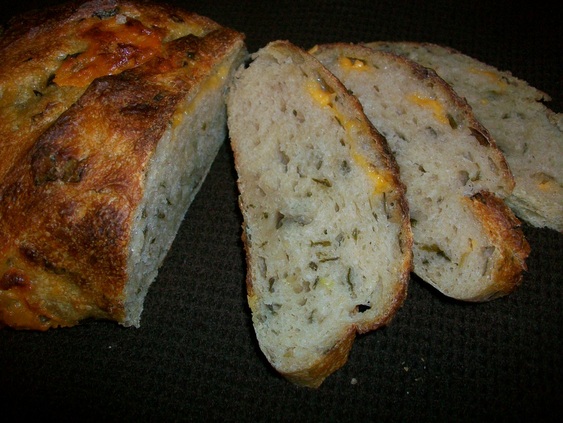 absolutely delish!
2 Comments
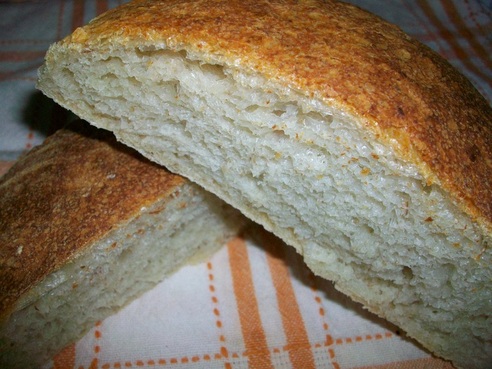
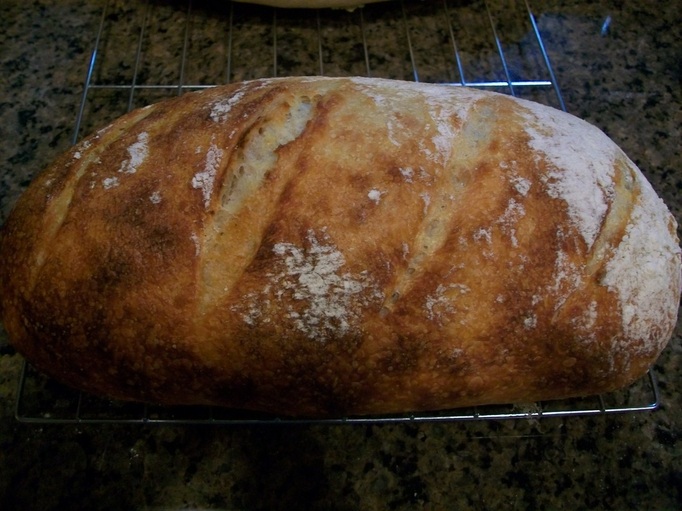 Legend has it that, in 1100, in an attempt to force Florence to surrender in one of their endless battles against each other, nearby Pisa blockaded the salt that arrived at her port, preventing it from reaching Florence. Thus, pane toscano (Tuscan bread) was born - the bread famous throughout Italy for being 'sciocco', from the word in the Tuscan dialect for ‘unsalted’. This is just one of the legends, (but my favorite) that tells of the origins of this saltless wonder. While we were in Florence a few years ago, My husband (who is first generation Italian) introduced me to this peculiar bread, and much to my surprise, I loved it! So, I was worried when I got to this bread because so many of the BBA Challengers who went before me really disliked it. Boy was I amazed! Not only did I love this bread, it was ABSOLUTELY my favorite thus far. The crust was deliciously crisp and the crumb was incredibly chewy with a slight sweetness and tang that seemed to permeate and change with every bite. This was a bread experience like I have only dreamed of having from one of my own baked goods, and my husband agreed that this was an exceptional bread. If you are following along with me, you know that I have been baking my way through The Bread Baker's Apprentice by Peter Reinhart using only wild yeast starter as my leaven. This is bread 38 and the recipe is on page 259, but if you still haven't picked up a copy, Susan at WildYeast has a gread adapted version. 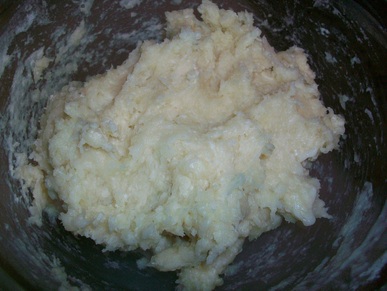 This is another two day bread, but it uses a fascinating method to 'scald' flour using boiling water to gelatinize the starches and to encourage more enzyme activity. I have never seen this method before but according to Reinhart, it can be applied to many of the lean dough recipes so far. This approach really intrigued me, so I will be experimenting with this new-found technique in the near future. 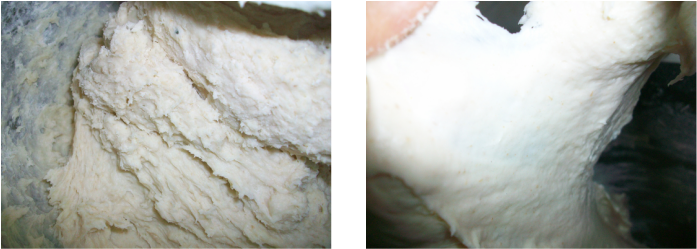 The actual kneading process of the finished dough was a little more difficult than some of the other breads so far. I found the dough to be VERY goopy and lumpy in the beginning stages of mixing, and I noticed that the time it actually took to reach the desired dough consistency and temperature took much longer than I anticipated, and I thought my poor mixer would give out before it did. 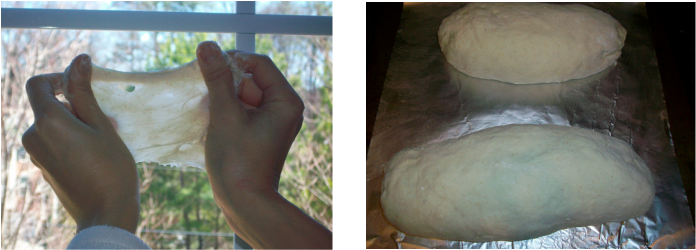 Finally, The dough got to a kind of 'windowpane' stage and I proceeded with the rest of the bulk fermentation. If you have been following along my blog, you will notice that I am trying to use a wild yeast starter exclusively while baking through Reinhart's book, and even though I did not use any salt in this bread, it took forever to double in size(I keep telling myself that patience is a virtue). Even when forming into batards, the second rising seemed to take much longer to rise also. The long fermentation may have had much to do with the final flavor profile of this recipe, for we were rewarded in the end when the bread turned out so delicious. 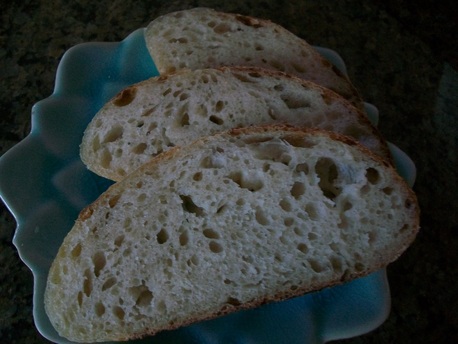 The crumb was really outstanding; it had the chewiness of really good sourdough(maybe because of my wild yeast starter, or the water bath in the cold oven, or even the long fermentation) and the flavor was a little tangy, a little sweet, and a little creamy. Whatever the reason for being so incredibly yummy, I am happy that it happened. I can say without a doubt that this bread will be made VERY often in our home.
yeastpotted 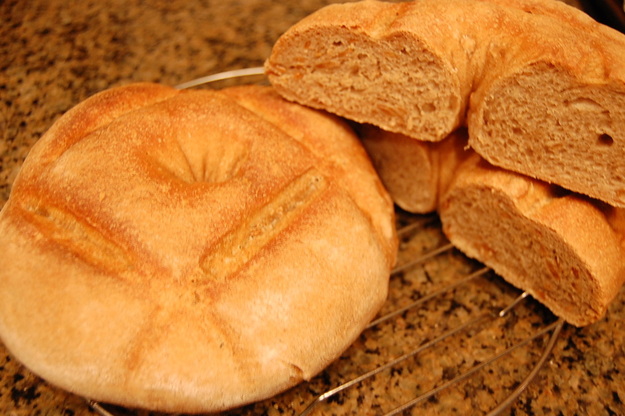 I love sunflower seeds. They are delicious, nutritious, and have a very happy name that makes me smile whenever I eat them. So, when I saw this next bread I was overjoyed to be using them in this recipe. By now, I have already baked and eaten my weight in rye breads, but somehow the sunflower seeds just makes this next one seem less disheartening. This is bread recipe #35 in The Bread Baker's Apprentice book by Peter Reinhart, and according to Mr Reinhart, this recipe is an adaptation of Craig Ponsford's 1995 Coup du Monde team. Mr Reinahrt uses both a soaker, a wild yeast starter, and commercial yeast, but if you ahve been following along while I am doing this Challenge, you will see that I am attempting all of his recipes using only wild yeast. As per the rules of the Challenge, I will not post the recipe, but you can follow along on page 249 in the book, or find a copy here. 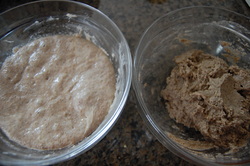 So, my wild yeast:"Adam" is alive and kicking on the left, along with the rye soaker left overnight on the right. 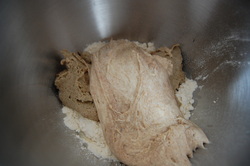 The next day, the soaker, Adam, and the rest of the final dough ingredients gets to be all cozy together into a tacky but not sticky ball. 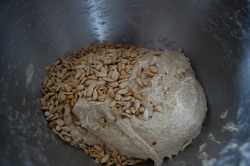 Now here is where the good stuff goes in- the addition of toasted sunflower seeds. The smell of toasted sunflower seeds made me a little crazy when they came out of the oven, because I was eating a kernel here and there while they were cooling off. So, I may have had slightly less seeds in the final bread than the recipe called for. 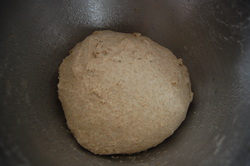 After I managed to incorporate all the seeds into the flour, the dough cam together rather nicely. It was left to bulk ferment until almost doubled in size. For me, that actually took about 5 hours. 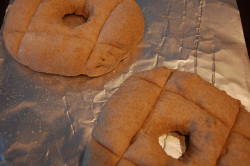 After bulk fermenting, the dough was then divided into two and shaped into the "couronne" loaves as you can see. They were then left to rise again until almost doubled in volume and to be put into a screaming hot oven.(500 degreesF along with poring boiling water into a pan) I then lowered the oven temp to 450 degrees F and continued baking until done-- around 25 mins or so. 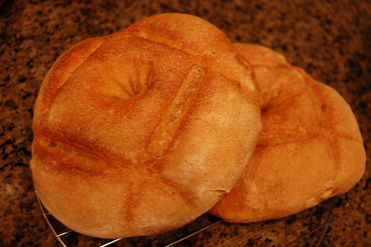 The final loaves were beautiful and oh so tasty. I found the sunflower seed taste to be just as "loyal" as Mr Reinhart says, and the slices were perfect as an accompaniment to cheese and wine. Who knew sunflowers and rye would be such a delicious combo. I will definitely be making this one again!
yeastpotted 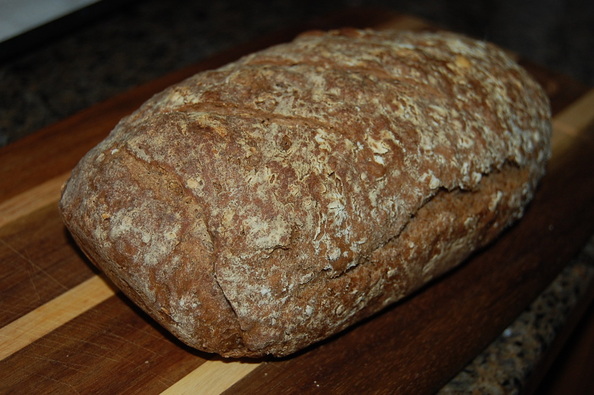 So, here is another rye recipe from The Bread Baker's Apprentice. I am one of many people across the online community of bakers who is participating in the BBA Challenge, only I am planning to do all if not most of the bread recipes using wild yeast only. As per the rules of the challenge, I am not posting the recipe but in case you still don't have your copy of the book you can find an adapted version here. This is bread number 34, and If you have been keeping up, I have been really impressed by the rye bread recipes so far. Not being a huge fan of rye breads in the past, I am slowly re-thinking my distaste for rye breads. I always thought of Pumpernickel bread as being dark from the color of the rye itself, but it appears that is not the case at all. 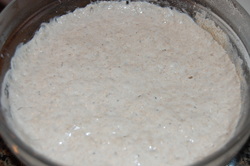 This is a 2 day bread using a wild yeast starter, and in my case ONLY wild yeast. "Adam", (my wild yeast) was refreshed and bubbled away like a champ. 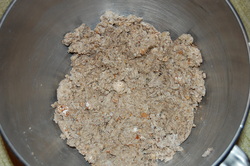 The recipe also says to use bread crumbs,preferably rye bread crumbs. I had some leftover rye bread from the previous rye bread and toasted and then ground coarsely for texture as was recommended by Reinhart. 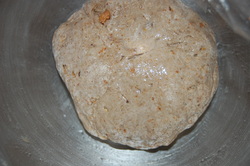 Here is the final dough kneaded and oiled-- ready for the initial rise. This one was also not over-kneaded so as not to make the rye become "gummy". 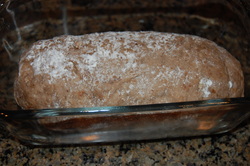 The second rise took forever. I waited for 7 hours before putting the loaf into the oven, and it still didn't have an impressive rise. I don't know if that is the nature of rye flour or not, but so far, none of the rye breads had an impressive spring. 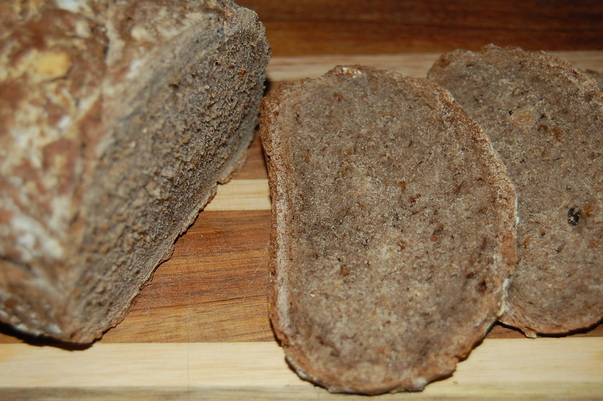 This loaf was very chewy and dense with a heavy crumb. I now understand why as a kid I always saw pumpernickel breads sliced so thin. Also, Reinhart was absolutely spot on about the addition of day old bread to improve the texture, which seemed give a interesting crunch that was unexpected. The tasty loaf was probably my favorite so far and quite difficult to resist when hot from the oven. yeastspotted.
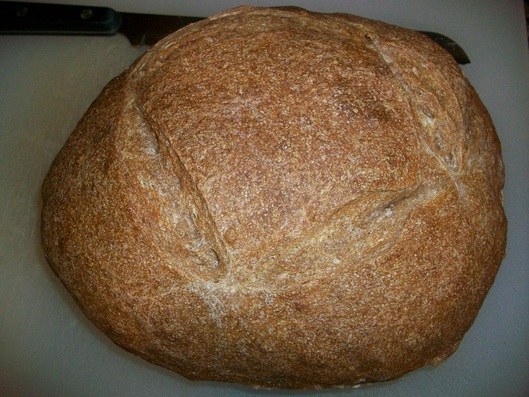 I was actually a little intimidated when I first thought of making this bread. In case you've missed out, I have been baking my way through the cookbook: The Bread Baker's Apprentice by Peter Reinhart. This bread, which is on the cover of his book, mimics the bread Lionel Poilane made famous from his family recipe. We went to Paris and found one of Poilane's bakery in the St Germain district and were completely blown away by his breads. In fact, we were so excited when we smelled the aroma, we had eaten all of the bread and forgotten to take pictures. So, you can imagine the fear and the delight when I saw this recipe in the book and thought about recreating such an iconic delight. What I really loved about this recipe is that Peter goes into the explanation using "clear flour" which is not easy to obtain here in the States, but he says to sift the bran from whole wheat to get a similar product.Follow along on page 242 or you can find the recipe here. 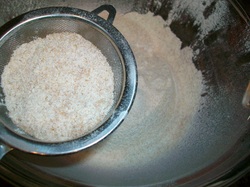 Since I did not have any clear flour, I took the time to sift whole wheat flour into a bowl. I was actually amazed at how much bran was left behind, and almost felt guilty leaving it out. But, I knew I could save it for another application elsewhere. 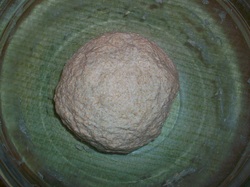 Here is the firm sponge mixed with my starter:"Adam" and left to ferment for a few hours. I then refrigerated it overnight to retard slowly. 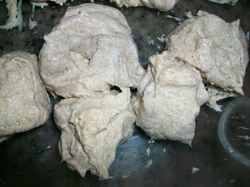 The next day I cut the starter blob into several pieces and waited about an hour to take the chill off. I then mixed the final dough ingredients along with the now room temp starter into a soft, pliable dough. 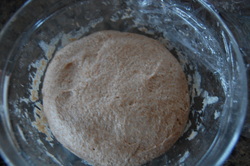 The dough should be tacky but not sticky. The dough was then left to rise until it doubled. For me this took about 5 hours or so. 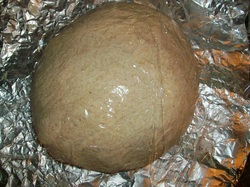 After the dough had risen I then gently formed the dough into a free form boule to rise againtil it reached 1.5 times it's initial size, 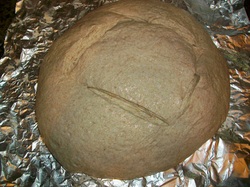 Here is the risen dough slashed and ready to go into a preheated oven at 500 degrees. I used the spray method to create steam in the oven and reduced the oven temp to 450. After 25 mins, I then rotated the loaf and reduced the temp again to 425 degrees an baked until it was a deep golden brown. (about 30mins longer)  This bread tasted really wonderful. There was a lovely nutty flavor and yet the wheatiness was less apparent than in other whole wheat breads that I 'd baked. Of course to me, Poilane's bread in Paris was so much better-- but maybe that's because I was in Paris. Yeastspotted
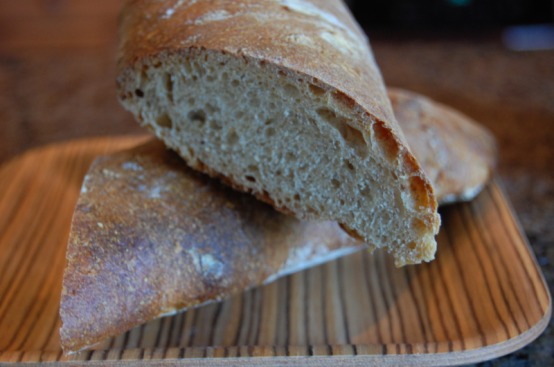
 I think Italian breads are probably my favorite breads, but I have never had THIS particular bread, and felt like I have been missing out for years. This bread was wonderful beyond words and the fact that traditionally it is made using all wild yeast is my kinda tune. Pane Pugliese bread is the rustic bread that comes from the heel of the boot in Italy, and now I want to visit there just to try the bread personally! Reinhart describes this bread having similarities to ciabatta explains that the difference between the two is the shape: Pugliese bread is usually a round shape. Peter explains that also the use of golden wheat semolina is used extensively in Pugliese bread baking is the real distinction in the nutty taste. If you have the book, follow along on page 222 or if not, try this link. 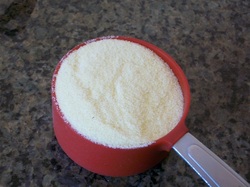 I actually used semolina flour since I couldn't find durum wheat in my area. I only used a fourth of a cup since Reinhart recommends using only up to thirty percent of semolina flour. 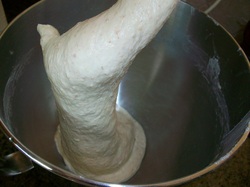 This is a very wet dough-- a lot like making ciabatta. The dough will come together after a few rests and risings as indicated by the recipe. 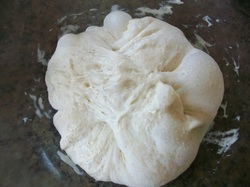 Here is the dough after the second rise and inside of it's final proofing bowl. Reinhart instructs to proof with the seam side UP so the seamless side will be the final exposed side . 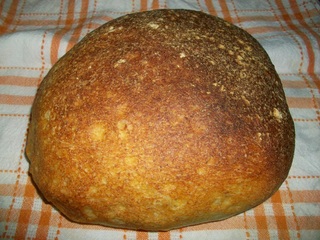 The final loaf came out really golden in color-- I guess that is from the semolina flour. It was absolutely delicious with a chewy and open interior. The crust was supposed to soften a little after coming out of the oven, but the actual loaf didn't last long enough for us to make any comparisons.
yeastpotted 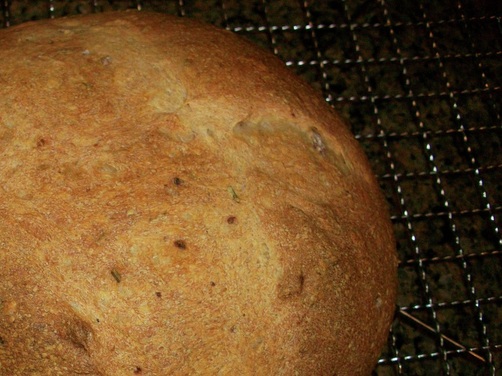 Potatoes and rosemary are two of my favorite ingredients together. So, when I saw that this was the next BBA Challenge bread, I got pretty excited. The rosemary in my garden has also been growing out of control, so at least I could use some of it before throwing most of it away. Peter says that we owe it to the Italians for coming up with this remarkable bread that they call "panmarino", and is a good use for leftover potatoes. Turn to page 219 of the Bread Baker's Apprentice to follow along if you have the book, otherwise, try this link.  This is another 2 day bread that uses a biga, or "old dough" that has been left in the refrigerator overnight. 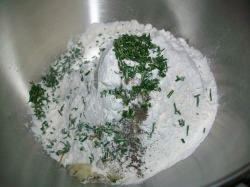 All the ingredients were mixed together the next day until the dough windowpaned. 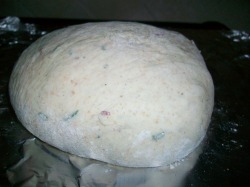 Let the dough bulk rise and then deflate gently and form into whatever shape-- I chose simple round boules. 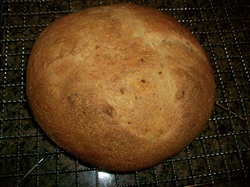 The finished bread fresh out of the oven. Reinhart suggests letting the bread cool one hour before devouring. But since we were smelling this incredible bread perfume our house, we just couldn't wait. 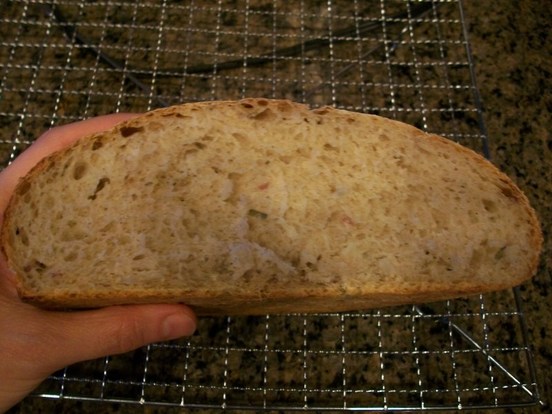 Let me tell you, this bread REALLY is as good as it sounds. It is crusty, and the potato addition really made the crumb super soft and chewy. This loaf is high on my list of breads to visit again soon. Another one for yeastspotting.
 Seems to me that I have been here before...Hmmm, and, I somehow think this is deja-vu.. Anyway, here is bread #26 in The Breadbaker's Apprentice challenge, and another winning artisan bread recipe from Peter Reinhart's book. In this recipe, Reinhart uses an ingredient called "clear flour", which is something between whole wheat flour and white flour. He has instructions on sifting out the bran in whole wheat flour to get the closest to the real ingredient. There are several types of preferments; sponge, biga, and sourdough are some that may be familiar from past breads, but of the most common and easiest preferments is the poolish, and the star of the show here. Pronounced “poo-LEESH,” the name is thought to derive from the Polish bakers who invented and introduced it to Viennese bakers, who in turn brought it to France. Since similar baguettes had been made previously, I won't bore you with the step by step images since they really are a lot like the past ones. Reinhart says this was the 2nd best baguette he's had, and I have to agree that the taste was not as good as some of the previous baguettes, but it was still better than average bread. In case you still haven't bought the book, you can find the recipe here, and try making these for yourself. yeastspotted.
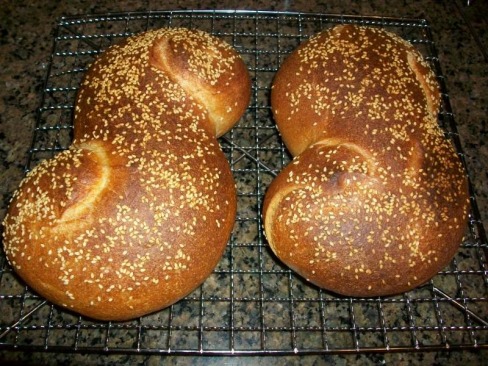 The Sicilians must really know what a gem of a bread they have here. The use of semolina flour is just wonderfully incorporated to produce these golden, chewy, and earthy breads. The only drawback to making this bread is that it took 3 whole days! However, the end product was so delicious, I guess it wasn't too much of a pain in the retrospect. So it seems that I am halfway through now seeing that this is bread #23 in the Bread Baker's Apprentice Challenge, where people all over the globe seem to be possessed in baking every single bread recipe in Reinhart's book. but again, if you don't have the book, look here. 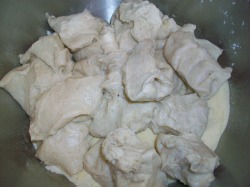 The pate fermentee has to be made first, and then retarded overnight in the fridge. Mine was made using my wild yeast "Adam". The next day, I cut the pate fermentee into about a dozen or so pieces and let it come to room temp before mixing all the ingredients together. 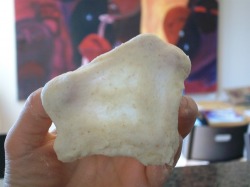 The directions says to continue kneading until the dough passes what is called the "windowpane test" . This actually took a little longer because of the semolina flour, but in the end, the texture of the dough was silky and easy to handle. 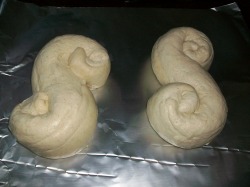 Then let the dough bulk rise until doubled in size before punching down and separating into battons and then shaped like the letter "S". You then cover the formed loaves and again retard them in the refrigerator overnight. 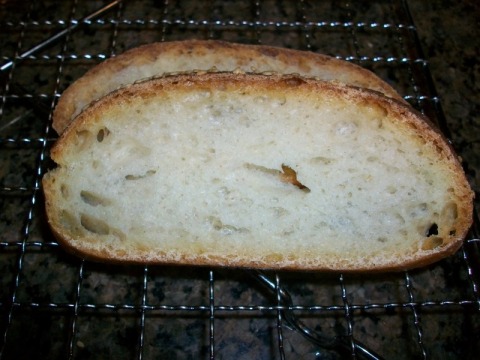 Here you can see the lovely crumb. This bread was incredibly chewy and had a touch of sweetness from the honey. The crust was perfectly crunchy and deliciously studded with the sesame which also aided in the crunch factor. Hmmm... crunchy and chewy... my kinda bread.
yeastpotted! 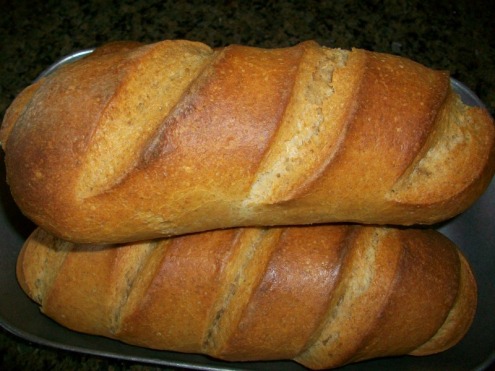 Another rustic bread from The Bread Baker's Apprentice. According to Peter Reinhart, this is the classic country bread of France and can be made into all kinds of different shapes and sizes. It usually is made with a small amount of either whole wheat or rye flour to give a denser crumb. And although so many of the other folks who have participated so far in this challenge had chosen to use a more interesting shape, I thought I would just make plain old batards and celebrate the simplicity of the bread. You should know that this is a two day bread starting with a pate fermentee, and If you don't have the book you can find the recipe here. 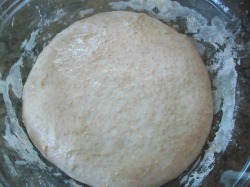 Here is the finished dough being left to rise until it doubles in bulk. This dough was actually pretty easy to handle, even with the use of my wild yeast, "Adam". I chose to use a touch of whole wheat in mine, since Adam is a whole wheat starter. 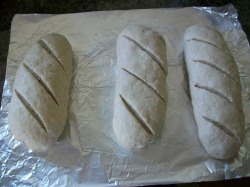 The loaves were shaped into batards, and I covered them to let rise a second time until they rose to 1 1/2 of it's original size, before scoring and putting them into the oven. 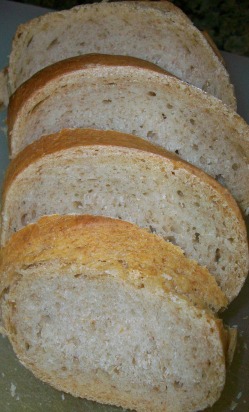 This bread was really delicious. It had a nice earthiness from the whole grain, and the crust was wonderfully hard and golden brown. The texture was chewy and the flavor from the pate fermentee was so complex. I see why so many other bakers have experimented using different shapes. Maybe next time I will give more attention to forming a different shape. I can definitely see myself making this one again.
yeastspotted. | About Me
I am an amateur home maker who finds great pleasure in creating baked wonders in the kitchen. Favorite links
doughadear ArchivesMarch 2011 CategoriesAll |
 RSS Feed