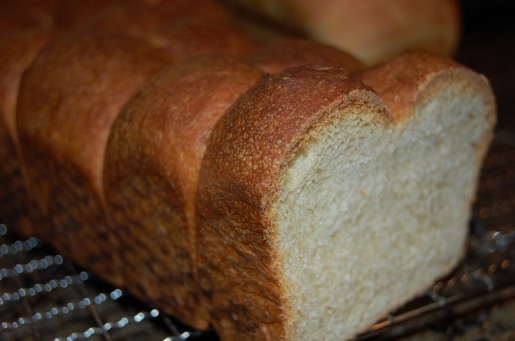
 Mmmmmmm. Sweet bread. When I got to do this bread, I was so excited to be making what I've always known it as Hawaiian bread. I grew up eating King's Hawaiian bread in the orange labeled bag and never dreamed that I would one day make it myself. To be perfectly clear, this was NOT your grocery bagged Hawaiian bread. No, this was SO much more delicious than what I had been eating all those years. Thank goodness for those Portuguese immigrants who graced us with this delicious treat. The funny thing is that Susan from Wild Yeast blog also made this bread this week, but her version is a little different. I think I will try her recipe the next time I make sweet bread, since she always has such mouth-watering photos. Reinhart's bread is actually a one day event, but since I used wild yeast, it took me two days to make. This particular recipe is on page 215 in the Breadbaker's Apprentice Book, and bread #27 in the Challenge. If you are a fan of Hawaiian bread, then you MUST try this recipe, and if you are still without the book you can find the recipe here. 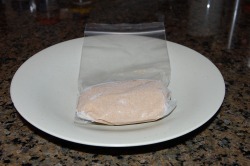 For this recipe, I took out a frozen piece of Adam(my starter), and brought it to room temp before mixing my sponge.  Sponge bubbling away nicely 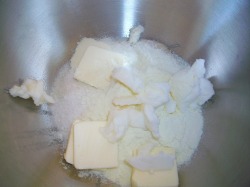 The really interesting aspect of this recipe is the addition of powdered milk in which Reinhart swears is the key in this recipe. I then mixed all the ingredients for the dough together until I had a soft, silky, ball. 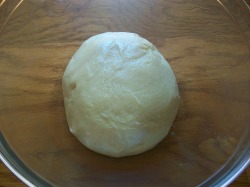 The dough was then allowed to rest and rise until doubled in bulk. 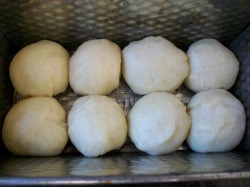 Then the dough was separated and formed into this loaf. I merely made 8 small balls and dropped them into the loaf pan. The second rise was a little faster. 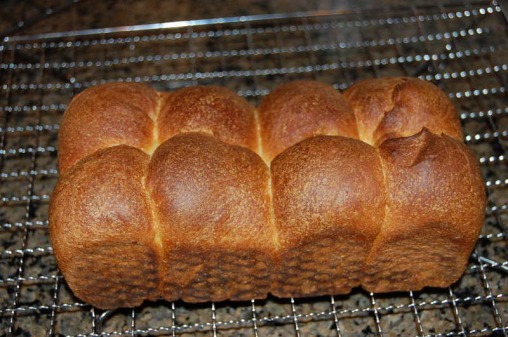 The resulting loaf was not only beautiful to look at, but really delicious as well. Don't be put off by the dark color of the bread. Reinhart explains that it's the high amount of sugar in the dough that makes the bread turn a "rich mahogany brown". This is a definite keeper in the book for me. Yeastpotted
4 Comments
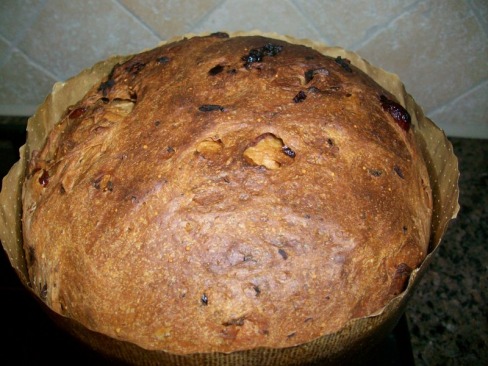 My friend Robin who recently had cancer surgery, loves Italian baked goods. She has been in the hospital since Christmas and is finally out in rehab. So, when I knew I was going to visit her I asked her if there was anything she needed, and she replied: "Panettone would be nice!" How could I refuse such a request? She never got a chance to indulge in the holiday goods when it was in season, And it just so happened that it was next on my list in the Bread Baker's Apprentice Challenge. This remarkably tender, and fluffy bread originated in Milan, according to my Italian hubby, but we see it here in the stores starting in Oct, so I guess you can say the actual freshness of the product is sometimes in question. If you like store-bought Panettone, then you MUST try this home-aide version, number 24 in the Bread Baker's Apprentice book. 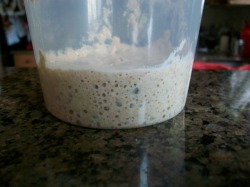 This is a two day bread starting with an active starter. Here you see my starter, "Adam" bubbling away and working his magic. If you still haven't bough the book-- you can find an adapted recipe here, but it's not quite the same as Peter's recipe. 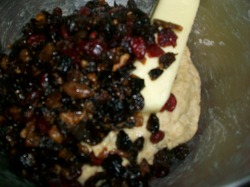 Next the ingredients. This dough was very similar to the egg- butter breads from the beginning of the book, but with the addition of the liquor and the vanilla extract in the soaking dried fruit, the bread had a wonderful aromatic fragrance. 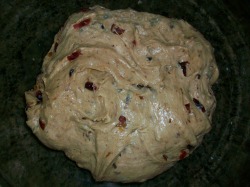 It took a while to get the dough to get the "window pane" texture, but it finally came together. 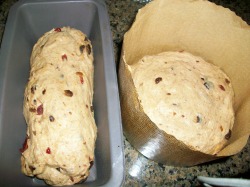 I divided the dough in half and decided to use a loaf pan for the one Nic and I would keep and used a real Panettone mold for Robin's bread. 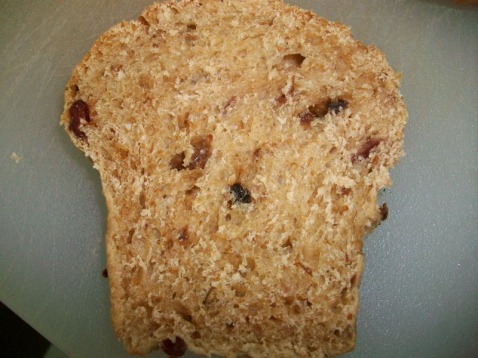 The result was delicious! This tasted WAY better than the dry store bought variety that we're bombarded with every Christmas. Christmas in July is a good reason to bake this festive bread.
Yeastspotted  I have yet to come across a person who hates focaccia. Although this simple pizza-like bread comes to us from the region of Liguria, Italy, we have adopted this delicious treat to fit our own American lifestyles. Traditionally, focaccia is topped with savory items such as cheese, herbs, and such, but Peter Reinhart has also included a sweeter version in his book for those of us who can't seem to get enough already. I couldn't decide whether to do a sweet or a savory one, so I chose to make one of each. As you know if you have been keeping up, we are strongly advised against printing the recipe but If you are following along in the Book, you can find the recipe on pp159-167. You can also see what others are doing with this challenge. 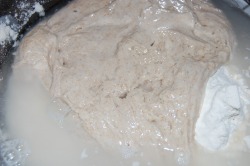 raw ingredients Mixed together: Flour, water, yeast(Adam),lots of olive oil, and salt. 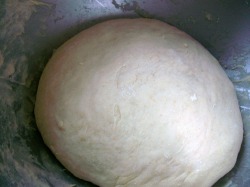 ball of dough It formed a somewhat sticky ball to rest for 30 minutes before I separated into two rectangles. 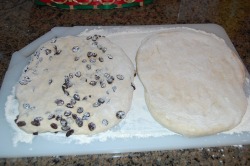 waiting for the intial rise I took half of the dough and incorporated 1 cup of raisins, and I then followed Peter's instructions for folding the dough every hour for about 3 hours, being careful not to degass the dough too much after each rise.  carmelized onions, rosemary and the extra oil The savory dough was then topped with some carmelized onions, rosemary, and the extra 1/4 cup of olive oil then put into pans and into plastic bags to retard overnight in the refrigerator. 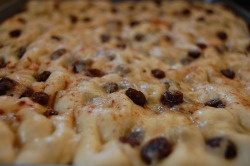 raisin focaccia after the refrigerator The next day, the risen dough was left out to come to room temp and double in bulk(this took about 3 hours). 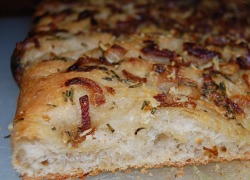 savory focaccia ready to eat The focaccia was then baked in a preheated 500 degree oven and then turned down to 450 degrees for 20 minutes.
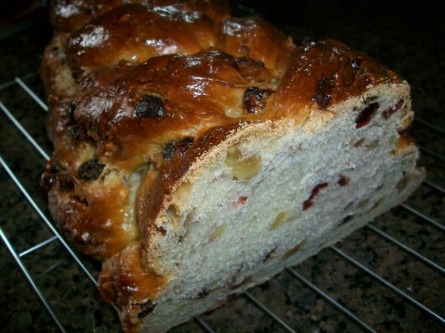 I know this bread actually looks familiar. But, I am not sure if it's just that I LOVE cranberries and walnuts or if it's just that I am becoming a fan of fruit and nut egg breads- but I found this bread to be quite intoxicating. The crumb had the texture of challah, but with a sweet, tart, and nutty flavor and texture. I've read from others who have made this bread that they thought there were too many cranberries-- how ridiculous! In fact, I think adding more cranberries and walnuts next time would actually make this bread better. 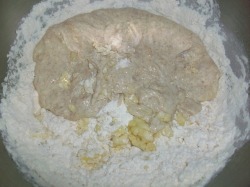 The now familiar ingredients of eggs, flour, salt, yeast, milk, orange extract and butter. 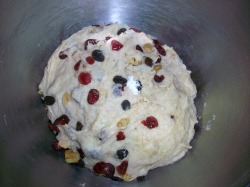 Added the cranberries and walnuts after the mixture comes together into a ball. The dough was then allowed to rise until almost doubled in size. 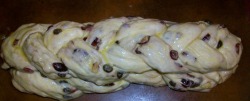 Braided the loaf and then glazed with egg wash. 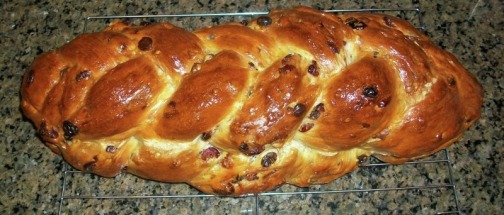 Baked in 325 degree oven for 45 minutes. This looks good enough to be sent to yeastpotting! 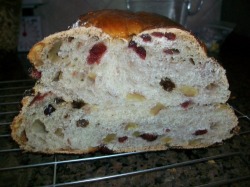 The crumb was beautifully dotted with cranberries and walnuts. And what wonderful flavor from the tang of the cranberries to the zing of the orange extract. This is our kind of breakfast bread toasted with butter or cream cheese.
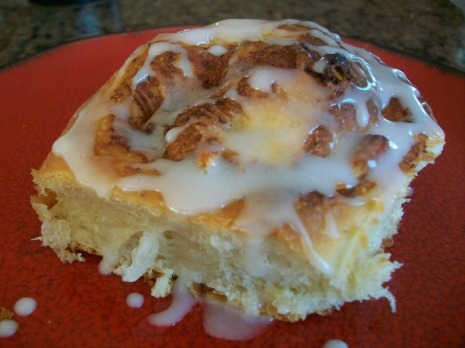 Can I say DELISH? I have never made cinnamon buns before and now I am wondering what took me so long. This recipe was actually a lot lighter than I imagined, and I doubled the cinnamon to really bring out the spice. I also took the liberty of adding toasted almonds and chopped dates. Phenomenal! Yeastspotting, here I come! 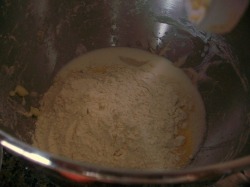 dumped the ingredients into bowl Combine the sugar, butter, egg, salt, bread flour, lemon extract, and Adam  paddle action Mix with paddle attachment until dough forms 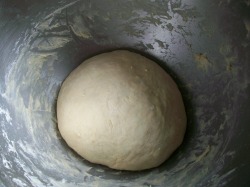 Ball of resting dough Let the dough proof until doubled in size 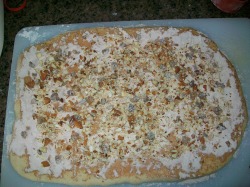 rolled out and ready to roll Roll out after bulk rise and sprinkle cinnamon sugar, almonds, and chopped dates. 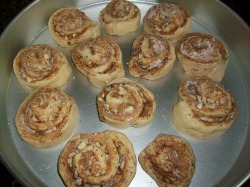 waiting to proof cut rolled dough into 12 pieces and let proof again in a pan with enough space to grow. 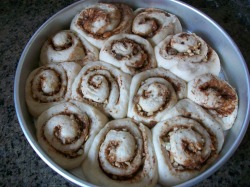 proofed and ready for the oven After about 90 mins they should look like this.  MMMMMMMmmmmmm This was breakfast to remember!
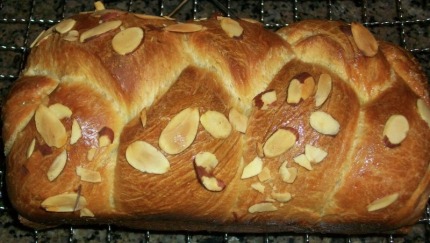 I did the Poor man's version here, and I have to say, it was quite good. We've been to Paris and had wonderful authentic french style brioche there, but this one was lighter but still felt buttery and tender. I will post this one also on YeastSpotting. 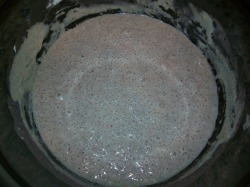 Adam Mixed with the sponge of flour and milk The recipe called for a overnight sponge with yeast and flour and milk. Of course I substituted my wild yeast for the commercial. 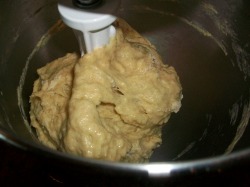 Very sticky dough Mixed the flour, sponge, salt, sugar and butter until smooth dough was formed. 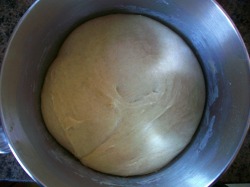 Bulk rising Here is the finished dough ready for the initial bulk rising. Because of this being a wild yeast, I left the dough alone for about 4 hours. 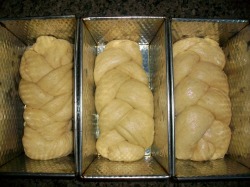 shaped into loaves The risen dough was then deflated and formed into 3 loaves, which I chose to braid. When the 2nd rising was finished I then used an egg wash on top and then sprinkled some sliced almonds to give a little crunch. 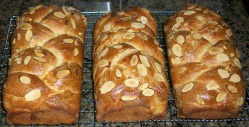 These smelled wonderful coming out of the oven, and the taste of butter and the richness of this crumb made me glad that I chose to bake the poor man's version of this bread. I can't imagine how buttery the other versions would be.
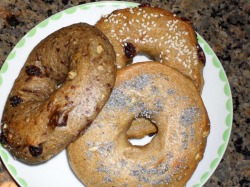 We LOVE bagels. In fact, in the earliest part of our relationship, Nic and I probably ate bagels at least every other day, for a month. Since we have been trying to "watch" our diets, we have scaled back on the bagel eating, but, these bagels make us a little weak in the knees. 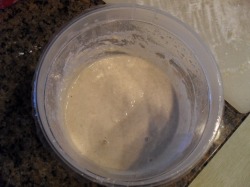 Adam mixed with flour and water In this recipe, Reinhart has incorporated a soaker as well as a biga, but i am using Adam in place of the biga. The preferment is alowed to sit at room temp for 12-24 hours. 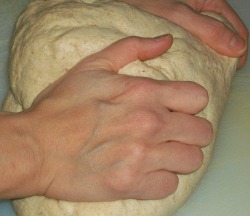 working fingers to the bone This recipe calls for 8 cups of flour total! Wow! The dough was really stiff and hard to knead, but I looked at it as my workout for the day. 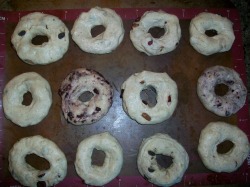 bagels shaped and resting Once the dough bulk rises, it is separated into pieces. Reinhart says he gets 12 bagels out of this recipe,,, I got 16. The pieces are then transferred to a tray to rise again for about 20 mins and then molded into doughnut shapes. The dough is allowed to rise again for 20mins and then wrapped in plastic and refrigerated overnight. 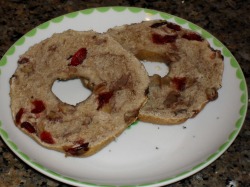 delicious The next day, the bagels are boiled and then baked for 10 minutes.
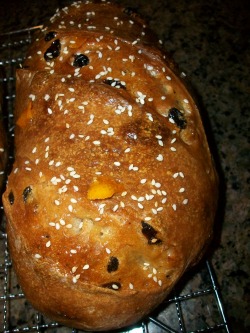 I can't begin to tell you how lovely this bread was. It was fragrant, and the subtle taste of honey and spice was just amazing. 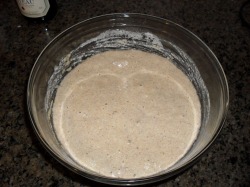 Adam bubbling away So here it starts again with the wild yeast being fed and producing many carbon gases. 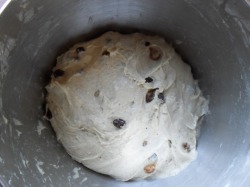 finished dough The dough is completely mixed with all the ingredients: flour, yeast, salt, cinnamon, nutmeg, allspice, cloves, orange zest, honey, olive oil, raisins, and dates. It is left to bulk ferment for about 90mins or so. 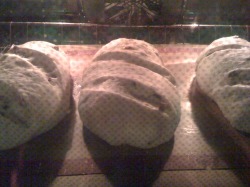 proofed dough The dough is separted after bulk rising into 3 loaves and left to rise again until it doubles in size. here they are in the oven ready to bake. 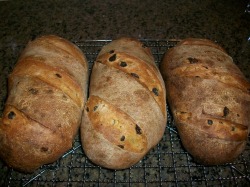 beautiful bread Here are the loaves hot from the oven before the glaze with honey and orange zest. 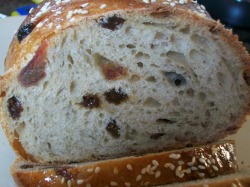 Crumb Ahhhhh... Wish you could taste this... so yummy!
| About Me
I am an amateur home maker who finds great pleasure in creating baked wonders in the kitchen. Favorite links
doughadear ArchivesMarch 2011 CategoriesAll |
 RSS Feed